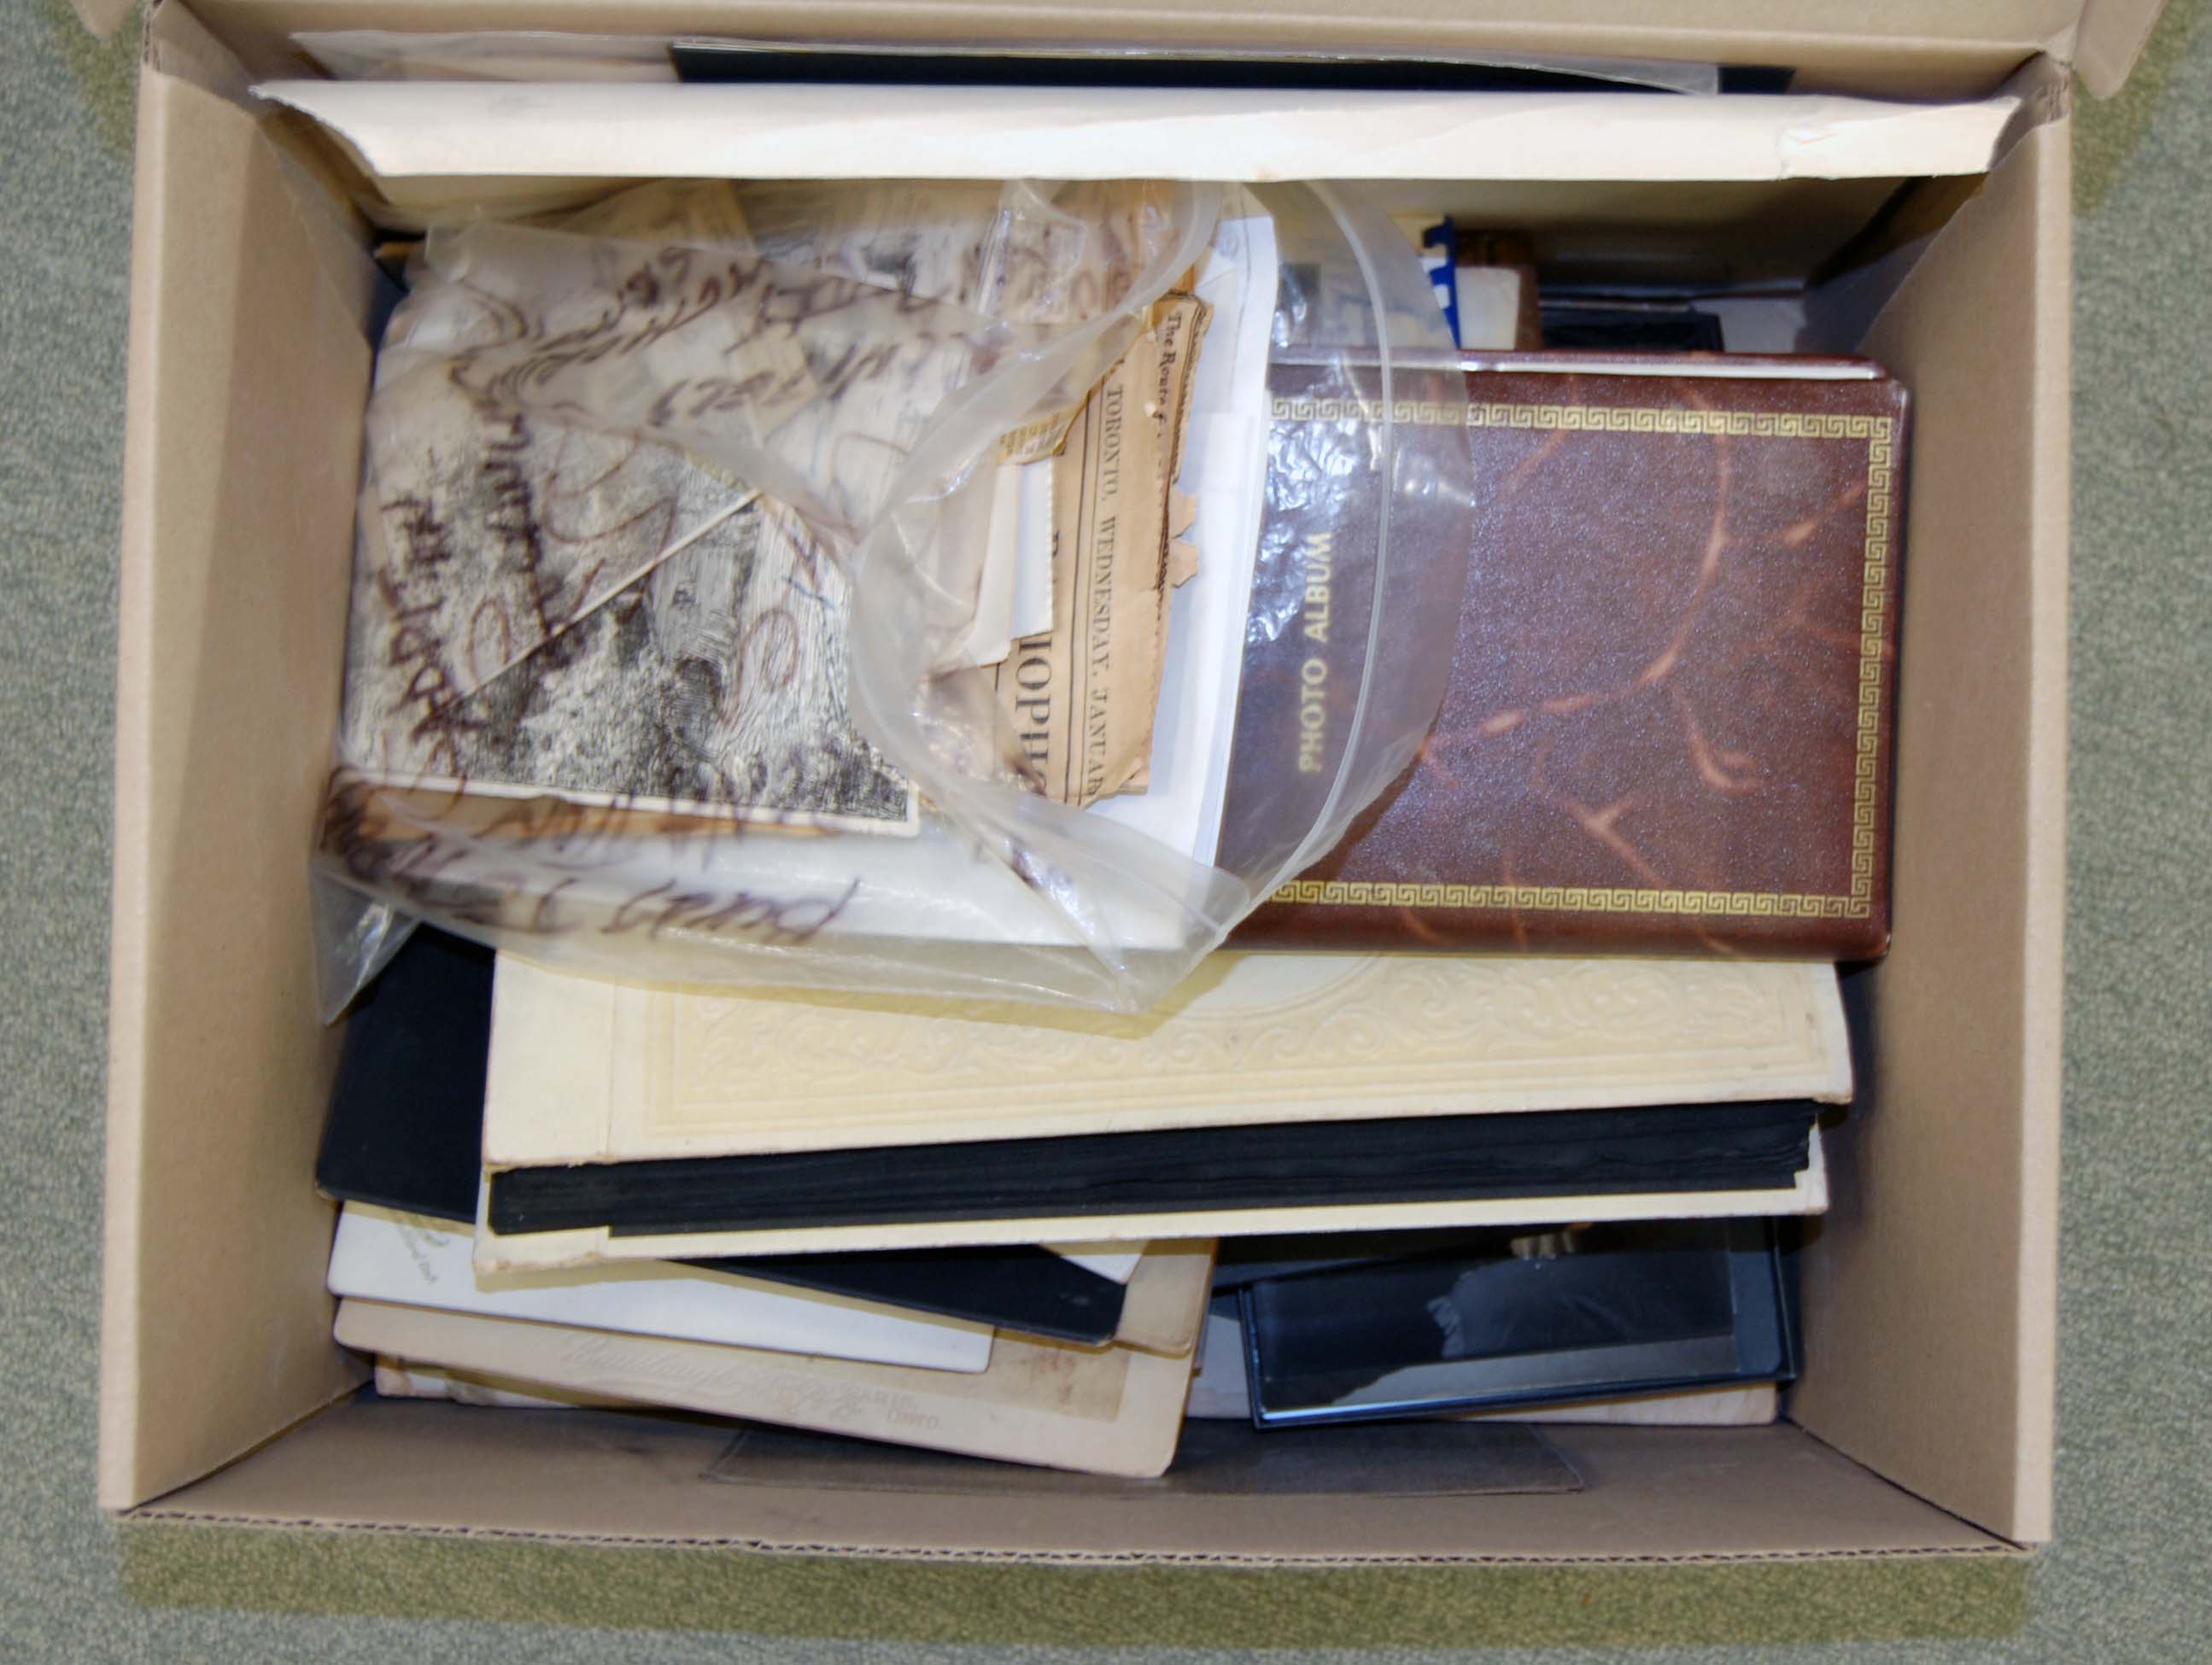
Over the past twenty years with the transition into a digital world, the way we collect, view and capture photographs has changed. Gone are the days when each of our snapshots took a physical form and held value in the time and money it took to create it. With digital technology offering high quality images with the use of a cell phone, and the cost of storing those images continuously decreasing, the decision to make and keep an expansive collection takes little deliberation. For those of us who were around to watch the transition from analogue to digital photography formats, we can still remember the days when that push of a button created a real object that held our memories and could be kept as a souvenir for the years to come. So how do we care for and ensure the longevity of our shoe-boxes and albums of prints combined with our hard drive of digital images?
Digitization
Analogue photographs, whether developed in a drug store or printed in a dark room, are far from permanent. In fact, if your photo collection is anything like mine, the majority of those photographs are probably colour 4×6, Polaroid, or photo paper print. These colour prints are actually at a higher risk of fading than your great grandmother’s old silver gelatin black and white prints. In fact, if you go take a look, they are probably far from the way they looked when you got them already. This is why, if you want those pictures of you as a kid or your wedding day to be around for your grandchildren and great grandchildren, your best option is to re-capture them digitally.
Digitization doesn’t have to be expensive, but it can be time consuming. Deciding to digitize is the first step, but depending on time, technical know-how, digital storage capacity and available equipment, executing your digitization plan can take a variety of forms.
Scanning
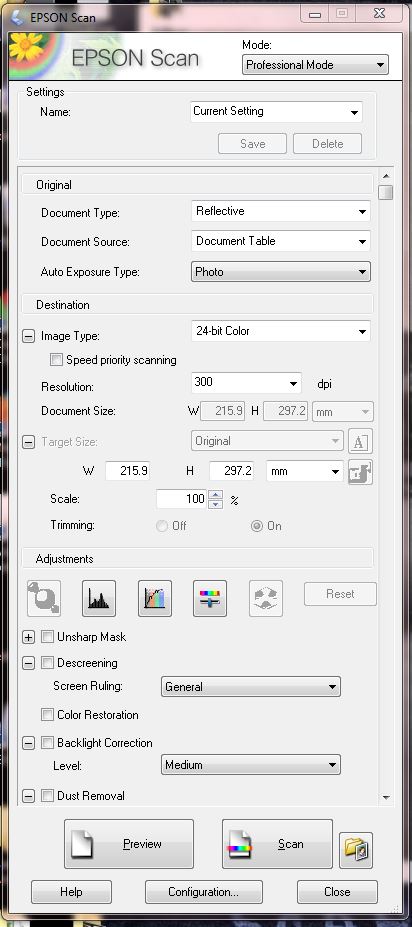
Ideally, for long-term preservation, scanning is the way to go. A good scanner can provide you with high quality images that will allow you to view, print and display your family photos however you choose. Depending on the type of photographs you have (especially if there are negatives or slides in your collection), you may need a scanner capable of transparency scanning. A good scanner goes up in price pretty quickly, but there are other options. For instance, the Toronto Public Library has Digital Design Workstations equipped with Epson scanners that can be reserved for two hours at a time to help get you through that shoebox or two in your closet. Software such as PhotoShop, EPSON Scan in professional mode, or SilverFast will provide you with all the settings you need and usually come with the purchase of a scanner.
Essentially, the settings you will be looking for include things like Document Type, Image Type, Resolution and Image Format. Features such as batch scanning that speed up the process by allowing you to select and scan more than one photograph at a time are also something to look for. Generally, the auto settings of the scanner should work fine, but you will want to ensure a resolution of at least 300 dpi/ppi with 24-bit colour RGB depth and that you are saving in TIFF or JPEG format. Make sure you are working with a clean scanner and have dusted off your photographs to prevent it from appearing in your digital image and avoid timely editing later on.
If you are really concerned about capturing the colours of your photograph as accurately as possible, the FADGI Guidelines for Digitizing Cultural Heritage Materials reviews how to scan a photograph for conservation and long-term preservation, and cover topics such as using a colour reference target, preparing your viewing environment, monitor calibration, spatial and signal resolution, colour gamut, colour mode, colour space. Generally, for heritage preservation the recommended pixel array is 4000 pixels along the longest dimension of your photograph. So if you are scanning a 4 x 6 inch print, your spatial resolution should be set to (4000 ppi ÷ 6” =) 600 dpi/ppi.
Re-photographing
If a scanner is out of your budget, and your local library doesn’t have scanners for public use, you might want to consider the option of re-capturing your photographs in a digital format. This can also be as simple or complex as you decide to make it.
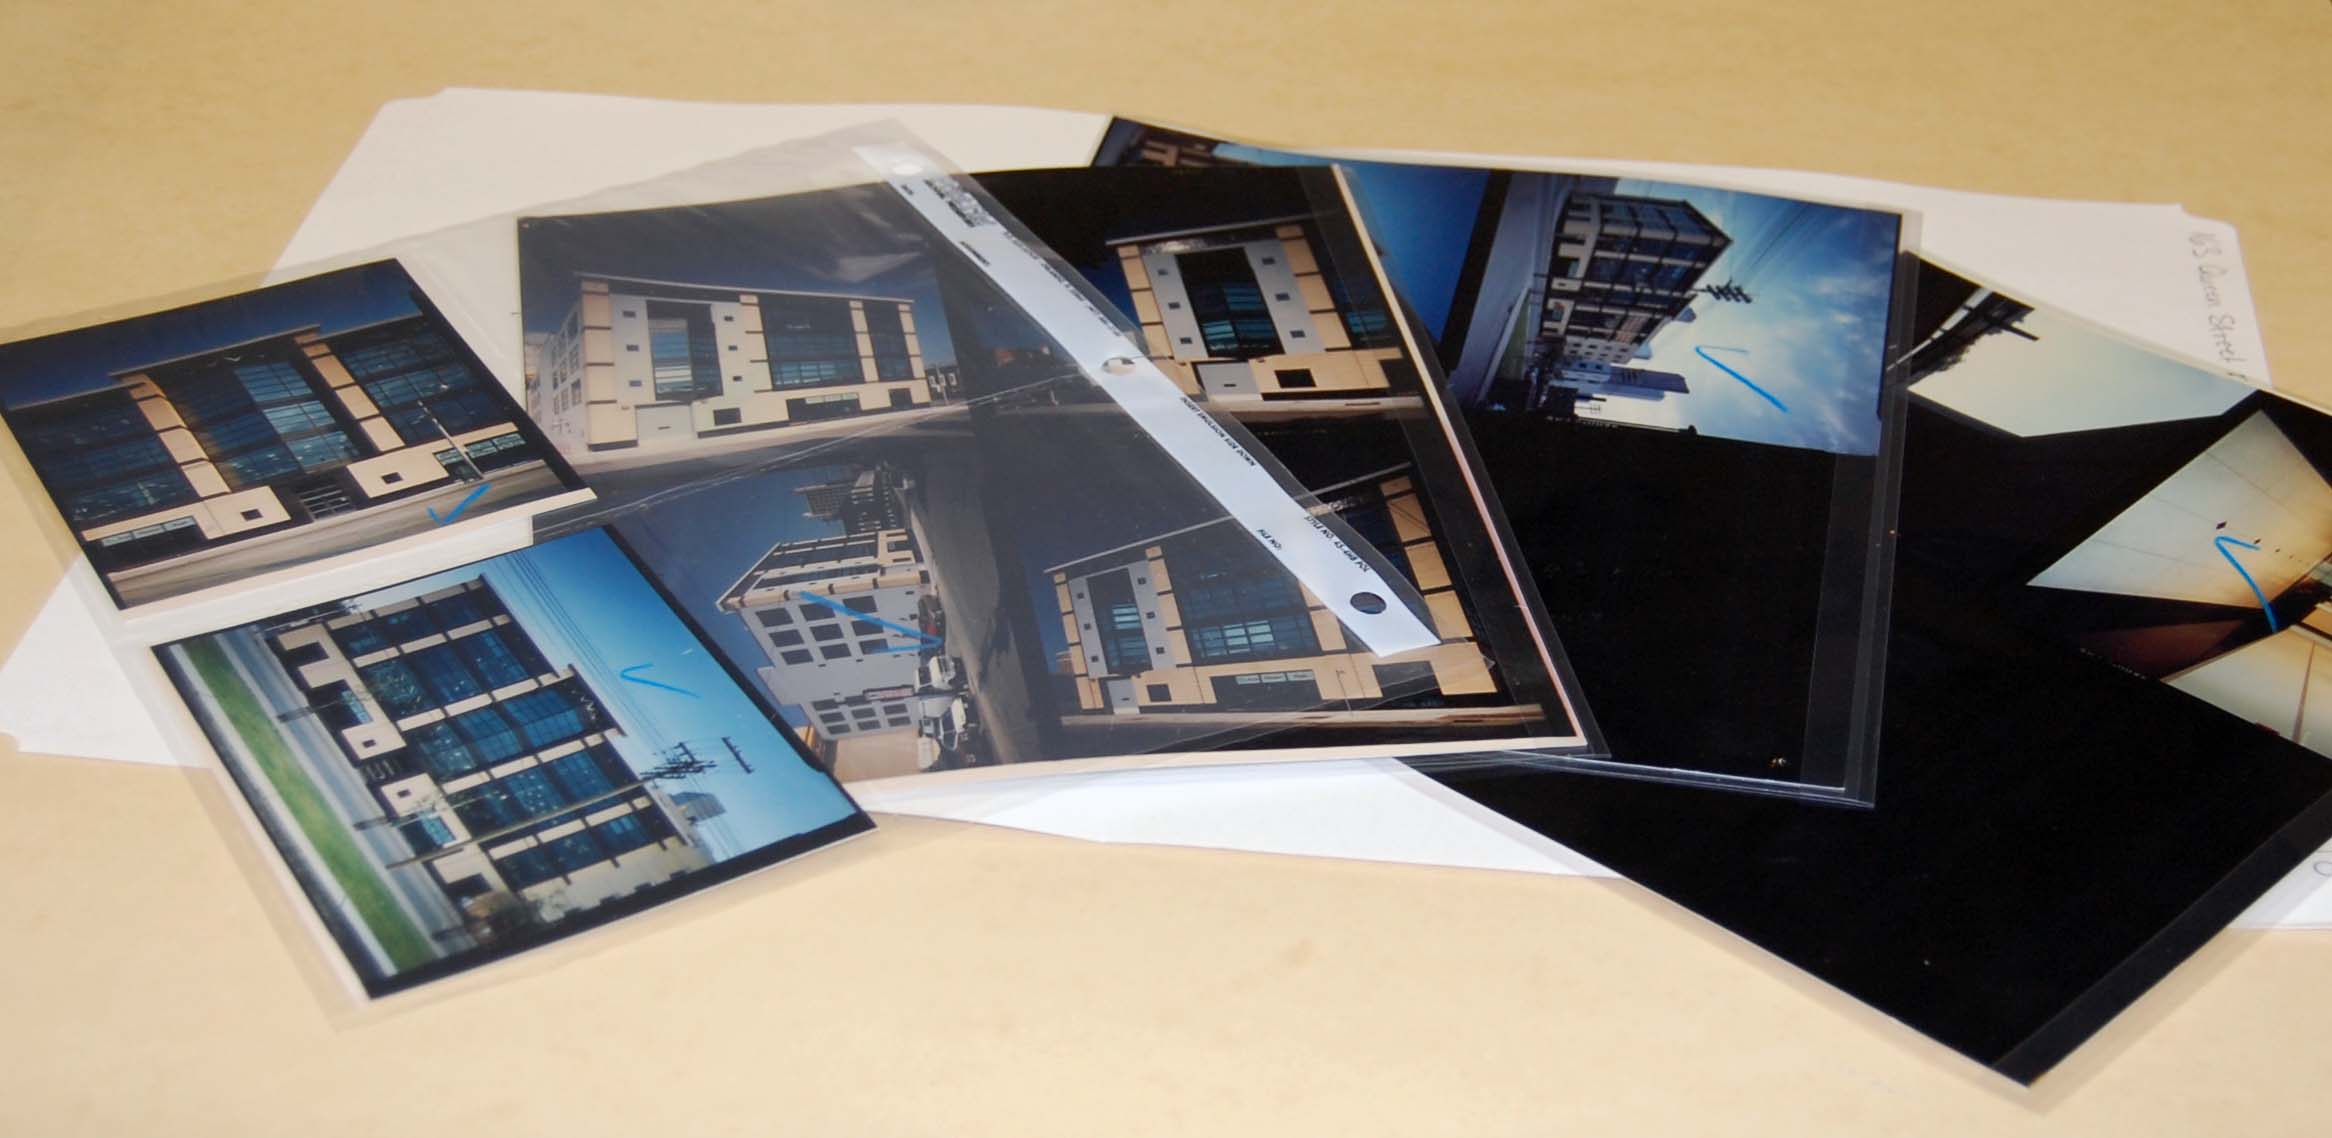
Just as easily as your cell phone helps you capture everyday moments, it can also help you digitize your family photograph collection. Although there are apps like CamScanner, that can help edit a poorly captured reproduction, use these as a last resort or when time is limited, as they will likely provide you with low quality and slightly distorted images. Whether using your cell phone camera, a digital point-and-shoot, or a professional digital camera, here are some things to think about before creating a digital version by re-photographing that old family photo:
- If the size of your original photograph is information you find valuable in its preservation, include a ruler or other measurement scale in your image.
- Other information about the photograph, such as geographical location where the image was taken, or the names of its subjects, that you do not want to lose can also be included in the frame of your new image.
- Place photograph on a solid grey background, use an easel or copystand if available.
- Use a tripod (and a release cord if possible) or other steadying device to prevent blur from occurring in your digital images.
- Line up the frame of your digital image with the frame of the photograph.
- Try to ensure each corner of the original photograph appears as a right angle in your viewfinder to prevent distorted imaging.
- Be aware of light and shadows. Optimally you will want to set up two lights, the same height and distance away and on either side of the photograph to ensure even illumination.
- Additional light sources can help prevent shadows caused by curling or frames.

Storage
Digital storage
Preserving your family photograph collection doesn’t end with digitization. To ensure that your memories don’t get lost in a sea of desktop files or become an obsolete file format, you will need to maintain and follow a system. Organization is key in the prolonged care of both physical and digital photography collections.
An effective and easy way to start thinking about how to organize your digital images is to picture their file structure like a hierarchical tree:
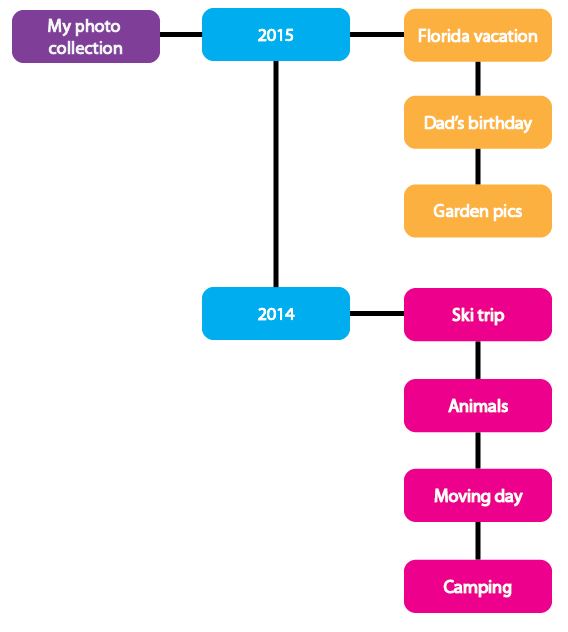
Choose file names that will make your images easy to search so that they won’t be hard to find when you need them, and save in formats that you know you will be able to access in five years (e.g. JPEG, TIFF). Keep a backup (or two!) on a cloud or an external hard drive, so that if something should happen to your computer and your files are destroyed, you will always have another copy. Set a reminder to update your backup weekly, monthly, or yearly depending on how many pictures you’re taking and if possible, store the backup at a different location.
Physical storage
A rule of thumb is that generally photographs like to be stored in the same environment that people like to be in. A cool, dark place with about 40% relative humidity is ideal, so it is best to avoid storing your prints in a damp basement or humid attic. Also remove any potentially harmful storage materials, such as glassine, which has been a popular material for photo sleeves.
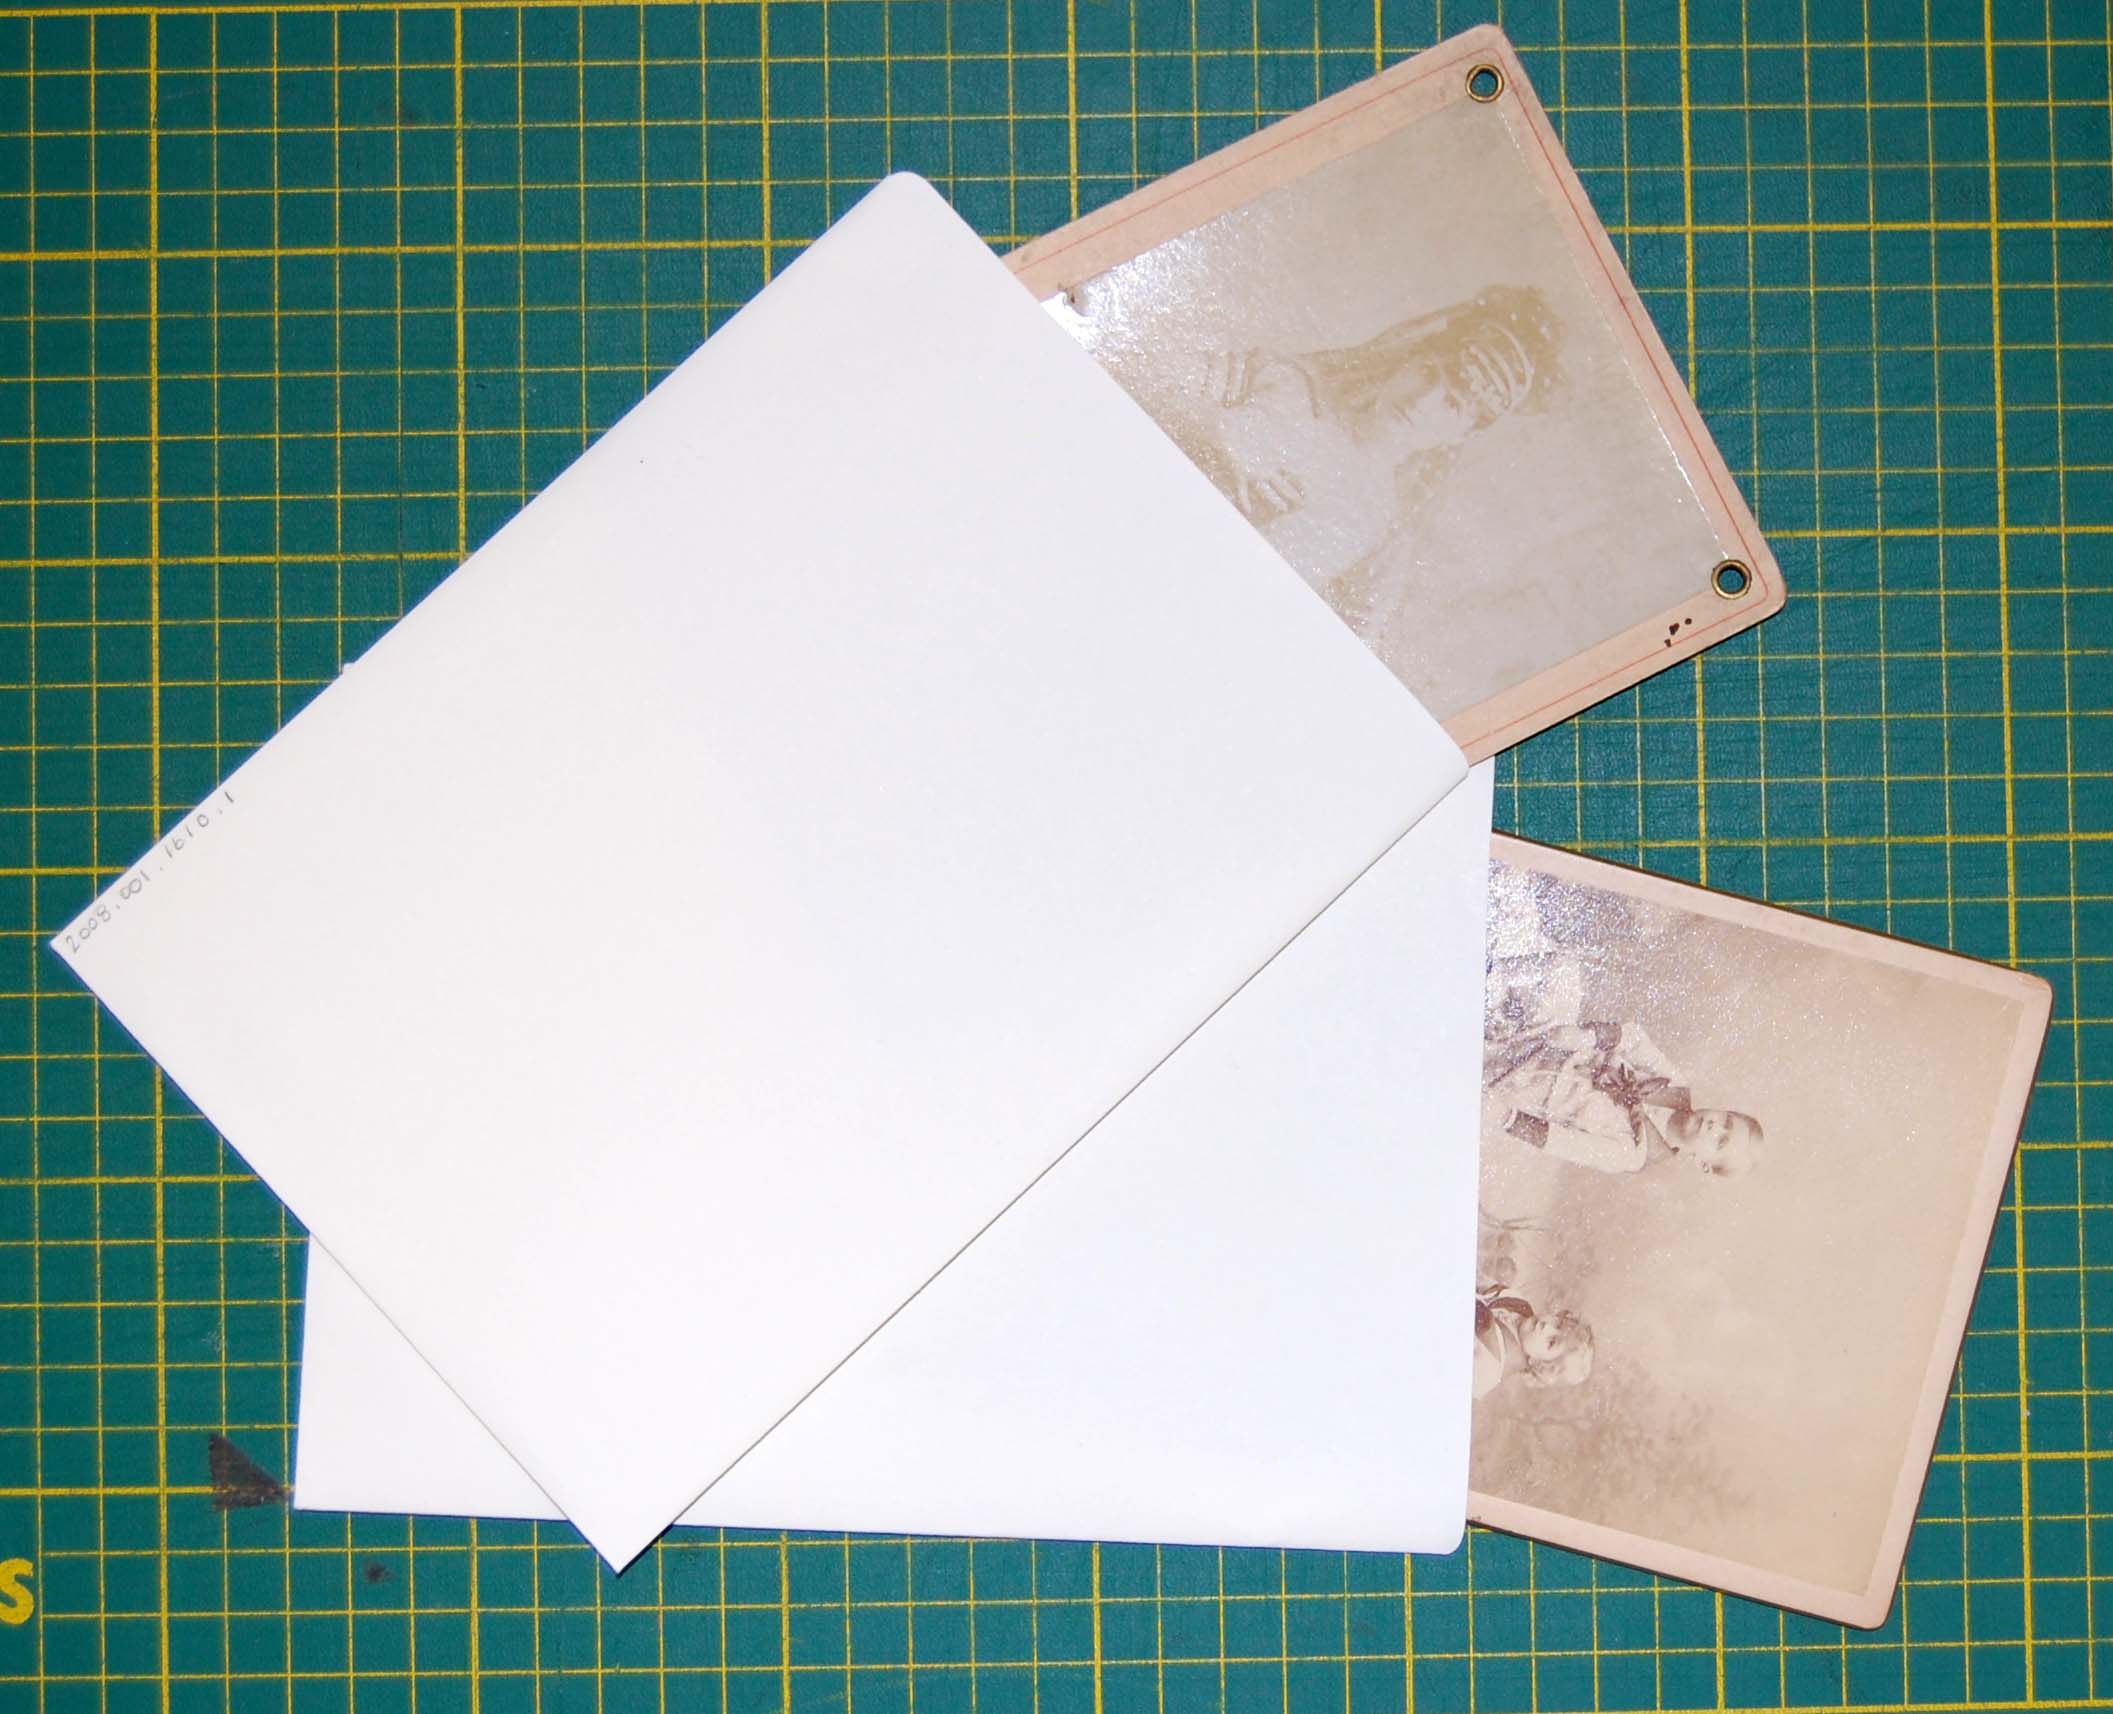
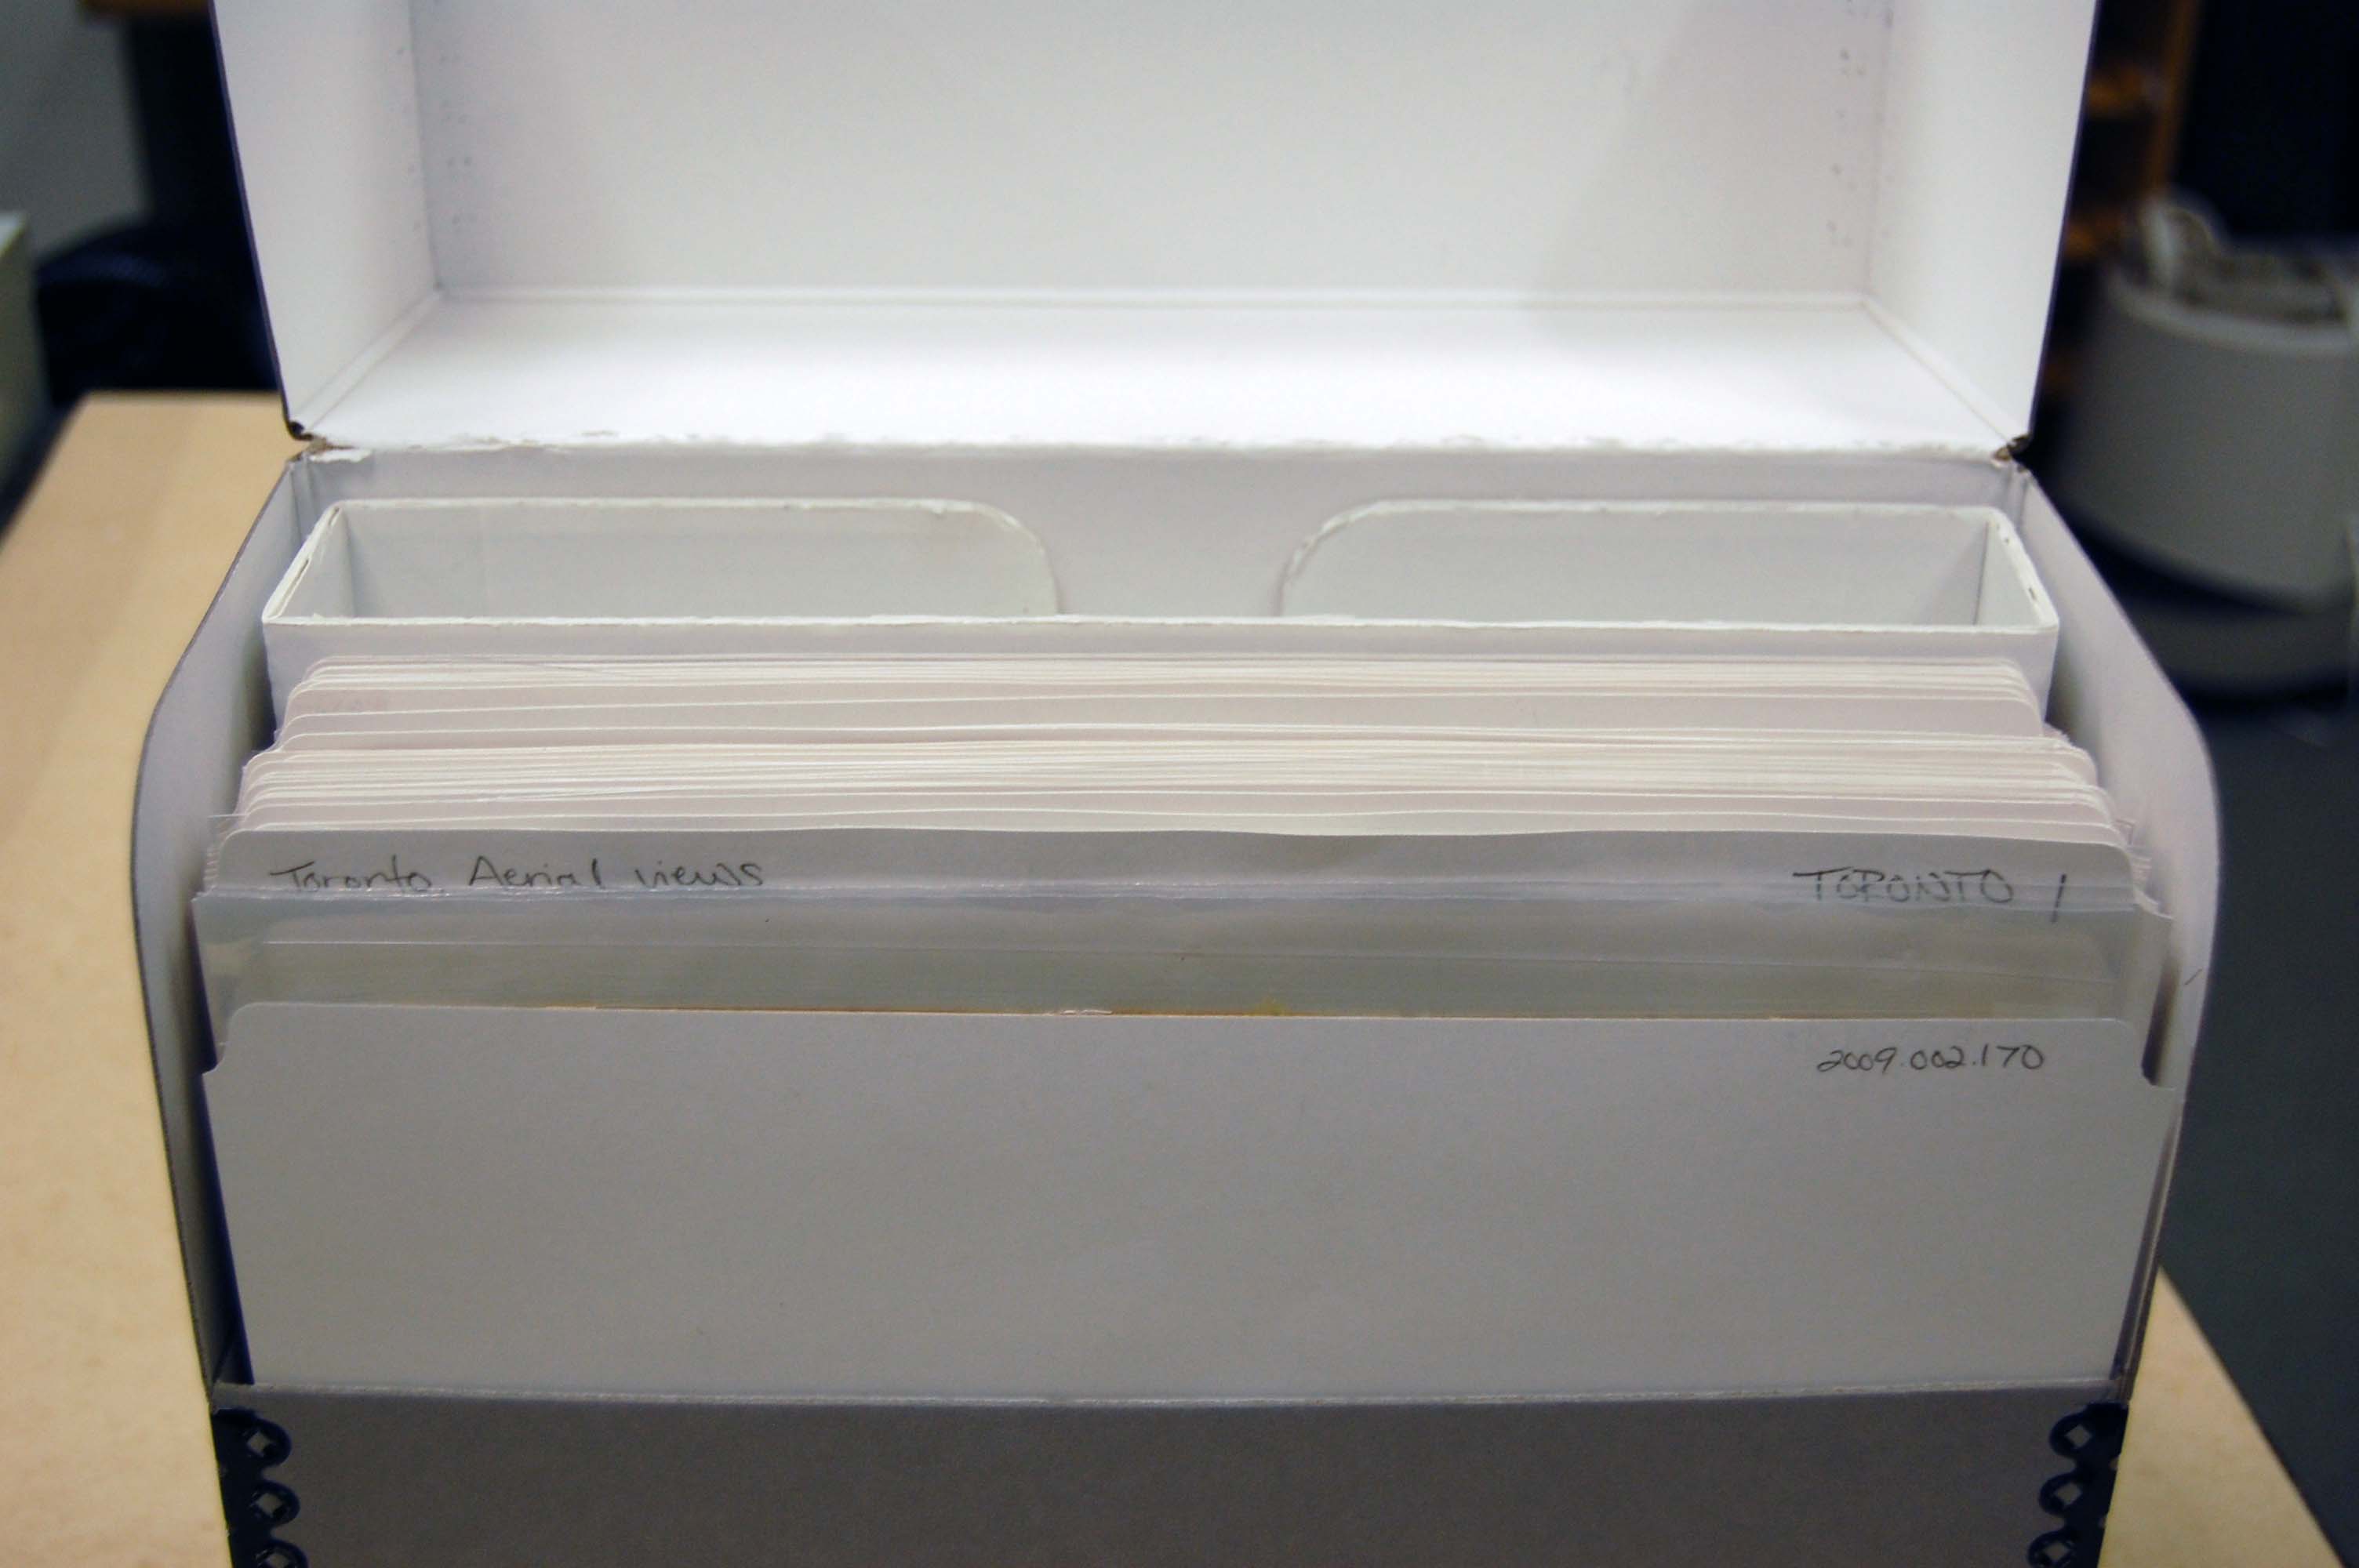
If your prints are in a shoebox you’re on the right track, but ideally it is best to store them in a material less acidic than cardboard to ensure they will not be subject to the harmful results of off-gassing. To prevent any warping it is best to lay them flat, and in case there is any adhesive, try to separate each print with Mylar, acid-free paper, or acid-free tissue. House them in individual sleeves, envelopes or enclosures to protect them from handling and changes in the environment.
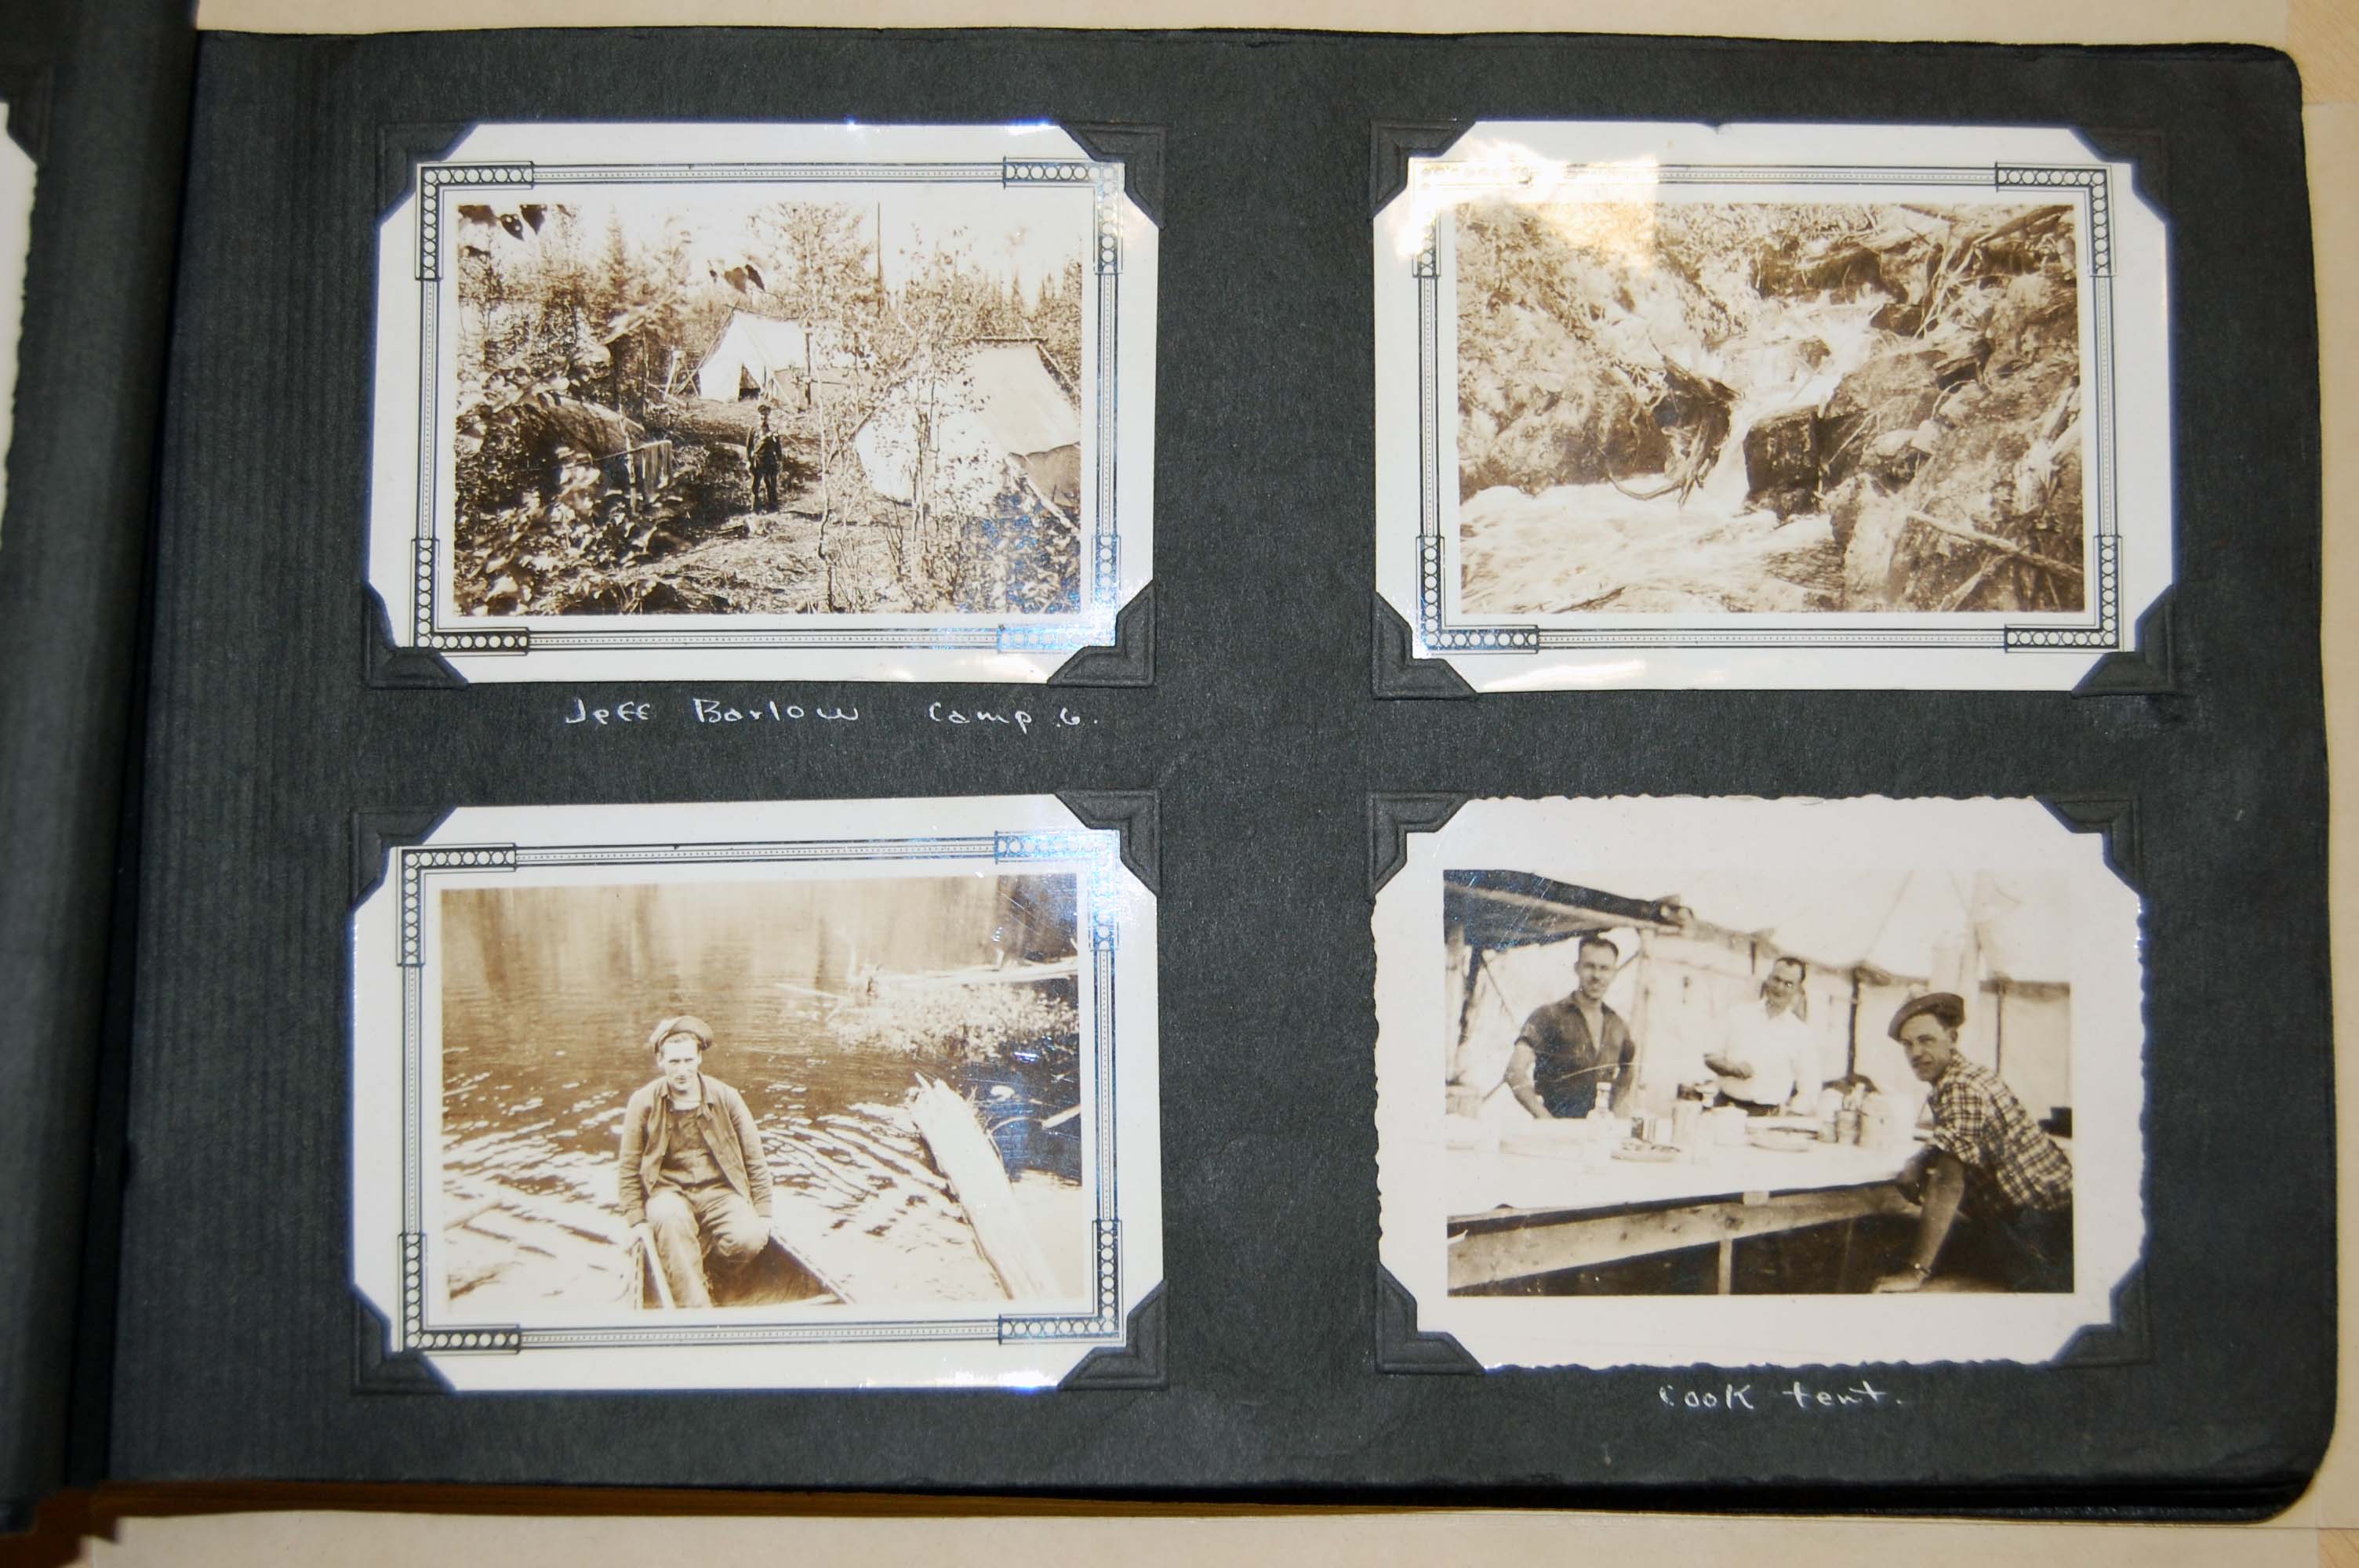
Albums can also be a great place to store photographic prints, but you need to be careful that you are using a photo-friendly style of album. Avoid self-adhesive albums! These albums can destroy the image of your photograph and speed up deterioration. If you have some of these already in your collection, you may no longer be able to remove your prints without causing them serious damage, in which case digitization is your best bet for image preservation. If you are creating a new album here are some best practices to follow:
- Use photo-corners to attach prints to the pages. This way, only the corners will touch adhesive, and not your prints. Should someone want to remove the print from the album they will be able to do so with little to no damage to the object.
- Use acid free paper. This will delay deterioration such as silver mirroring and fading.
- Separate the prints so they are not stored facing each other. Some albums are sold with acid free tissue in between the pages that will do this for you. If you are using a binder, you can also do this by inserting each page into a Mylar (Polyester) sleeve.
- Avoid writing directly onto your prints. If you have information to include about the subject of an image, inscribe this on the space surrounding your print. Inks can bleed or gradually discolour your images.

Other notes on preserving your family photographs
Negatives and transparencies
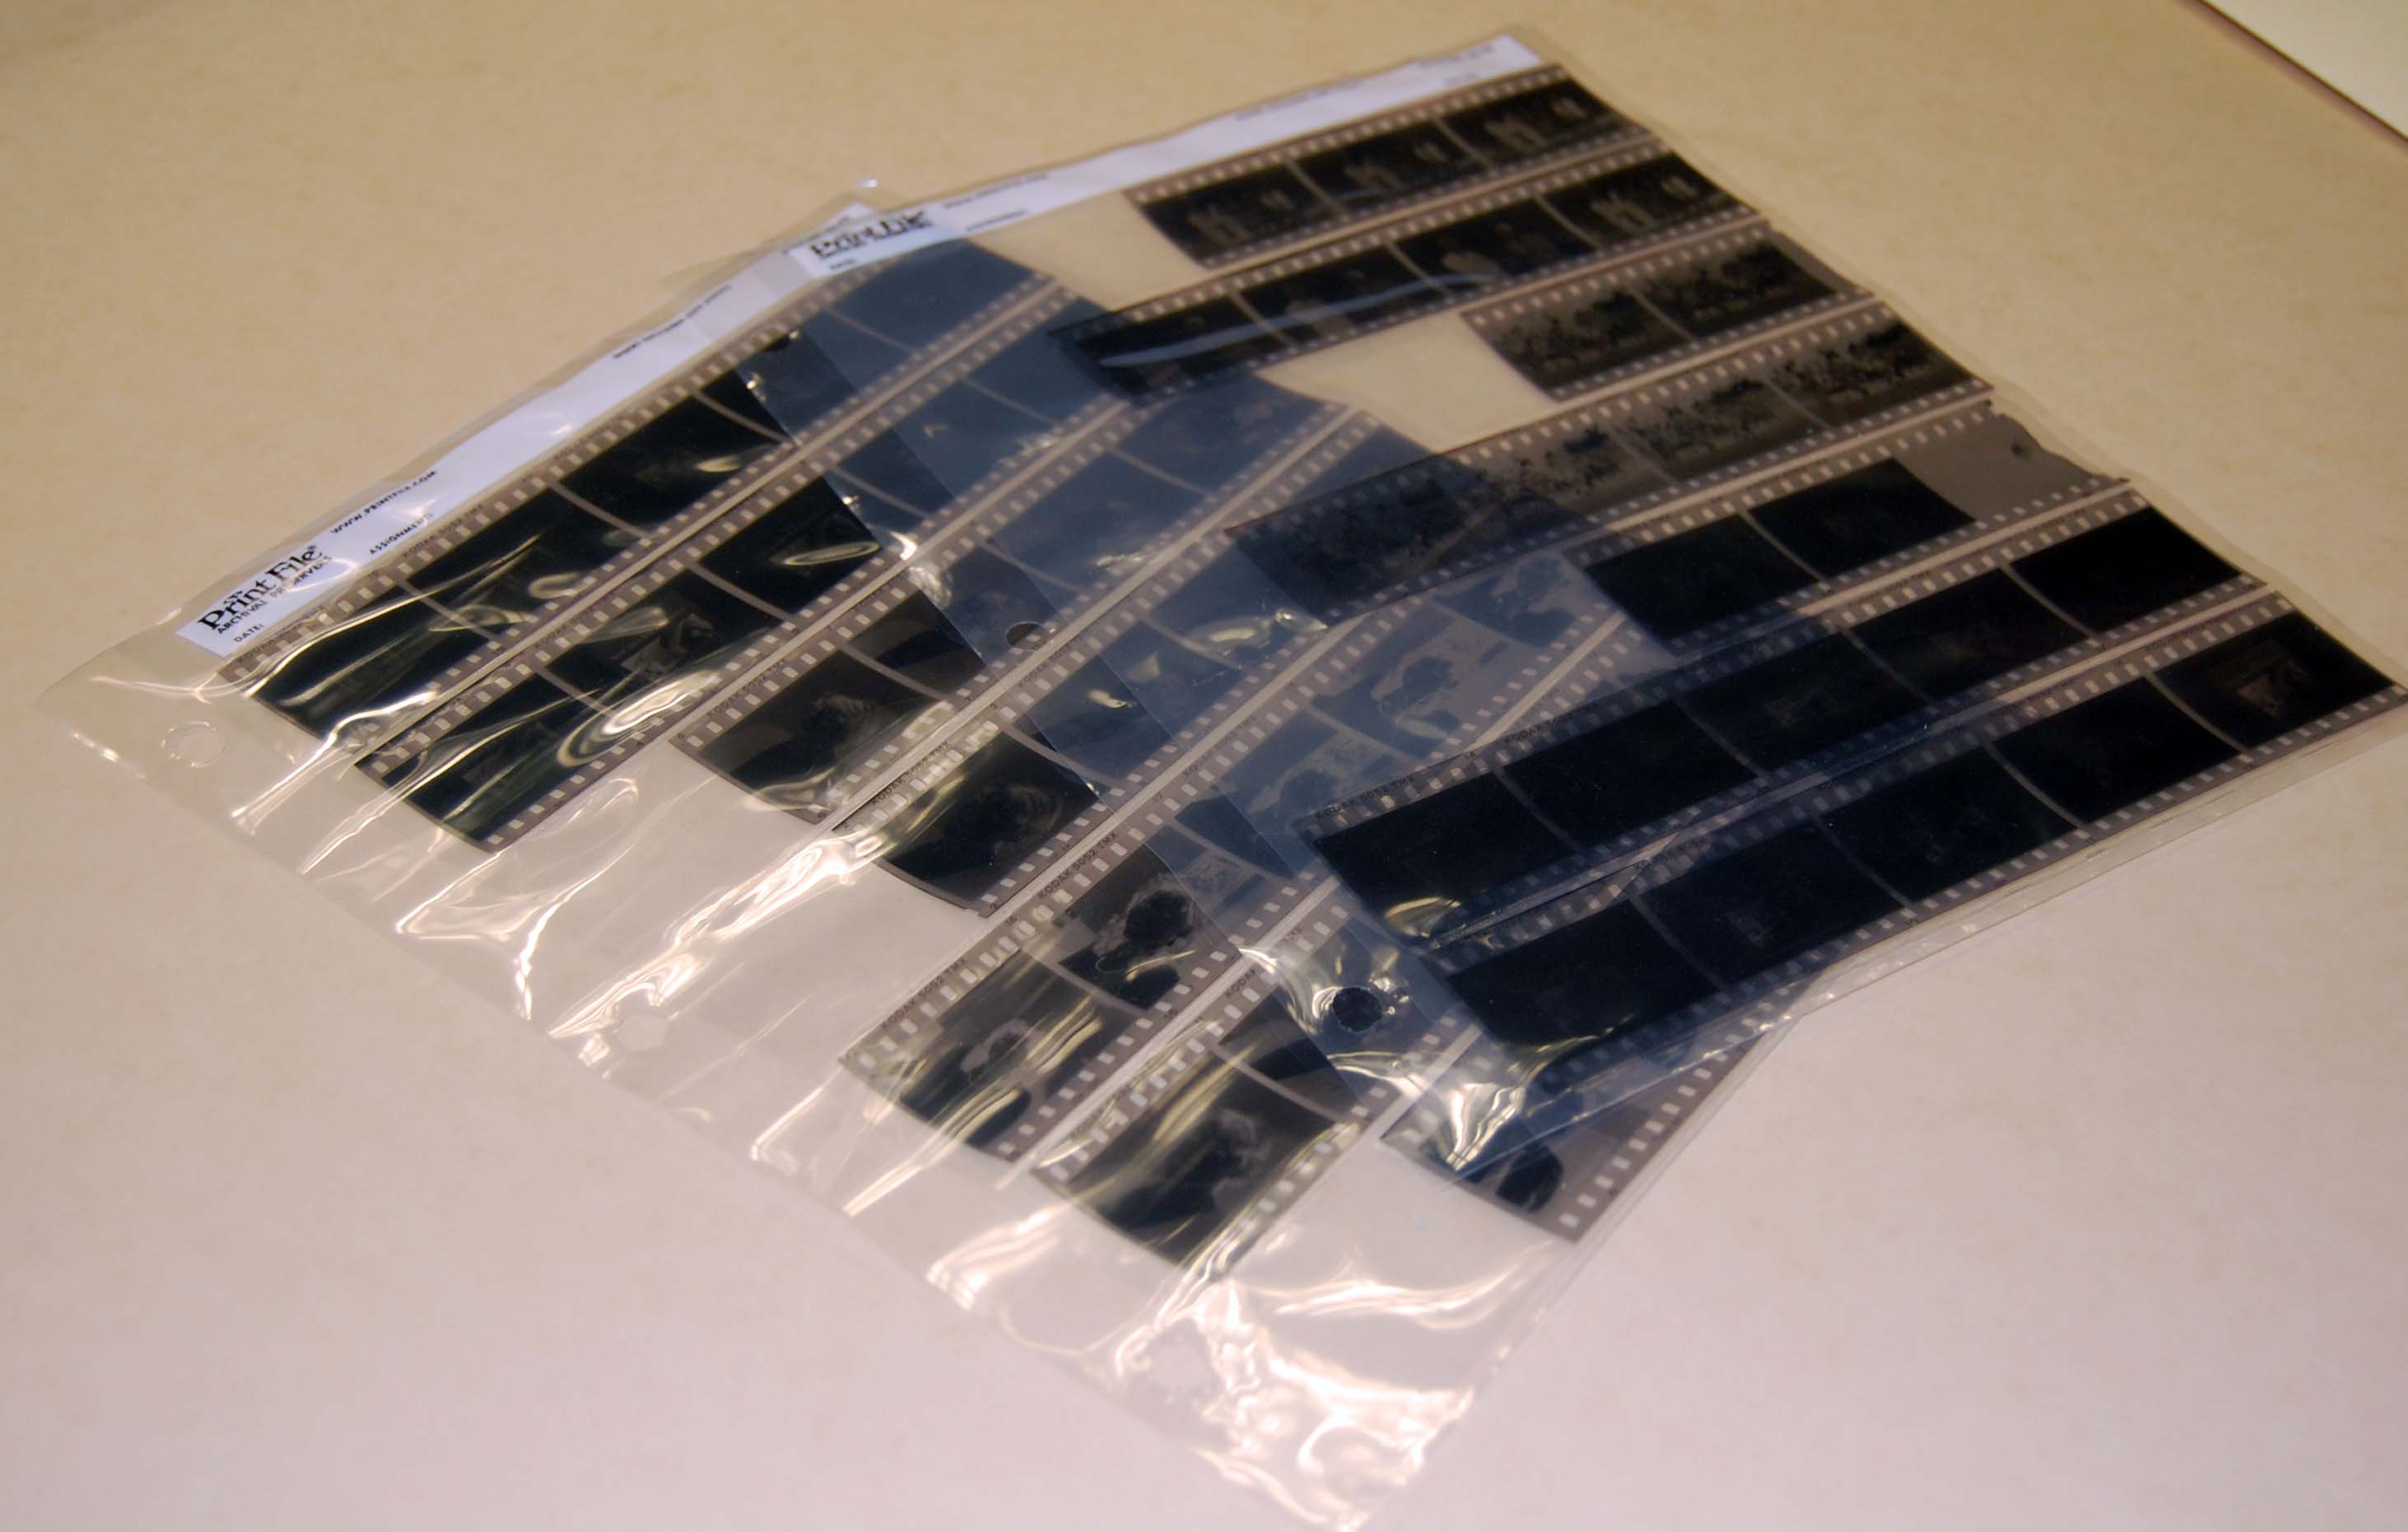
If you have negatives interfiled with your prints they can also benefit from re-housing and separate enclosures. Acetate negatives in particular might be something you choose to digitize, as they are prone to vinegar syndrome, a form of deterioration that can only be delayed by freezer storage.
Undeveloped rolls of film
If you have undeveloped rolls of film that you’ve been meaning to process, but haven’t got around to, sooner is better than later. Just like your prints, film is subject to natural deterioration that may have already distorted your undeveloped images. Also, your opportunity to have someone else print them is quickly diminishing as the onset of digital takes its toll on commercial printing businesses.
Sources:
Cornell University Library https://www.library.cornell.edu/preservation/brochure/Family%20Photos%20Text%2001.pdf
Northeast Document Conservation Centre Leaflets https://www.nedcc.org/free-resources/preservation-leaflets/overview
“Technical Guidelines for Digitizing Cultural Heritage Materials: Creation of Raster Image Master Files,” Federal Agencies Digitization Guidelines Initiative. August 2010. http://www.digitizationguidelines.gov/guidelines/FADGI_Still_Image-Tech_Guidelines_2010-08-24.pdf
Tony Hoffman, The Five Best Photo Scanners, PCMag. July 2014. http://www.pcmag.com/article2/0,2817,2362752,00.asp
Toronto Public Library Digital Design Work Stations http://www.torontopubliclibrary.ca/using-the-library/computer-services/innovation-spaces/workstations.jsp
U.S. National Archives http://www.archives.gov/preservation/family-archives/